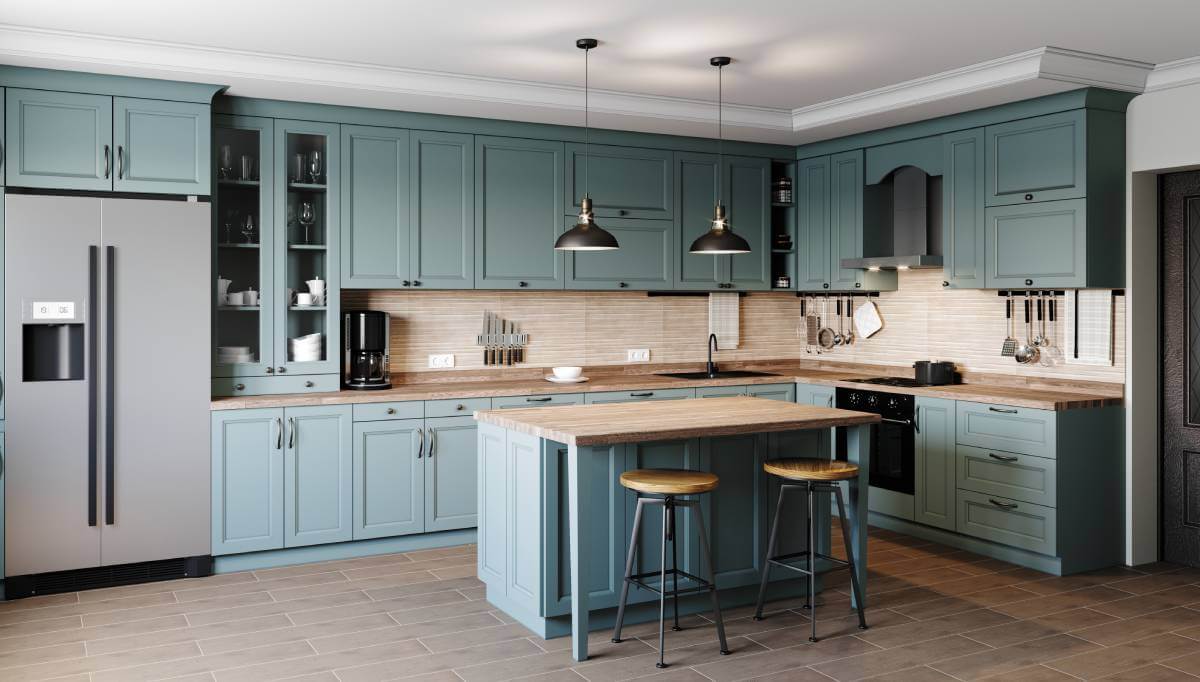
Brushing a silky-smooth finish on woodwork takes patience and attention to detail but it will do wonders to refresh the woodwork in your home. Here’s how to do it.
Prep work
Unfortunately, a coat or two of paint won’t fill or hide cracks, chips and other surface defects, and it won’t smooth out a rough surface. You’ll have to do a bit of prep work beforehand to fill and smooth the woodwork. First, wash the woodwork to remove grime and grease and then rinse well with clean water to remove any residue.
Examine the surface for any loose and cracked paint that needs scraping. If the woodwork needs to be scraped, you’ll probably end up with more scratches and dents than when you started, so these will be the areas to fix next.
For gouges deeper than 3mm, use a wood filler (or similar) to fill them in. For finer scratches use a spackling compound. Brush marks in the old paint will need to be sanded out, not filled.
Finish up the prep work by lightly sanding the areas with 180-grit paper or a sanding sponge. This will smooth out previous brush marks and scuff the surface to help the new coat of paint stick. Then wipe down the whole surface with a damp cloth to remove dust.
Choosing a paint
Oil-based paints
If white oil-based paint was used on your home’s woodwork in the past, it will have discoloured over the years – sometimes only in a matter of months, especially in rooms with little or no natural light. Oil-based wood paints have other disadvantages, including smelling, drying slowly (especially when it’s cold), being prone to runs and drips (although non-drip versions are available) and being hard to clean up and clean off things. If it’s applied correctly, an oil-based wood paint can provide a good finish but, because it stays wet and tacky for a long time, the finish can easily be ruined by someone brushing against it, or insects getting stuck to it, for example.
How many coats?
White water-based wood paints don’t discolour or yellow and rarely drip, although they’re not as hardwearing as oil-based ones. They also dry quickly and although you have to do several coats of white, especially on bare wood or MDF, the paint becomes easier and quicker to apply the more coats you do, so you can finish the job in a day, which usually isn’t the case with oil based. Other colours generally need just two or three coats, making them much less work than white water-based ones.
Water-based paints
The problem with some water-based wood paints is that they dry so quickly it’s hard to get a good finish – if you go back over an area that’s already started to dry, the finish can be ruined. One of the best white water-based wood paints is Dulux Trade Quick Dry Satinwood. Although it can drip, it dries more slowly than most similar products, so it’s much easier to get a good finish. It’s a bit shinier than many satinwoods, but, more importantly, covers better and is more hardwearing – if you’re sceptical about water-based wood paints, try this one.
Multi-surface paints
As well as specific wood/metal paints, you can get water-based multi-surface paints that can be used on walls, ceilings, wood and metal, etc. These are ideal if you want different surfaces to match, as the same colour in a wood/metal paint and an emulsion (for walls) isn’t necessarily identical.
Gloss paints
Traditionally, gloss wood paints were the most common, but these days lower-sheen satinwood and eggshell are more fashionable finishes. If you’re repainting gloss paint, it’s important to prepare it properly because paint doesn’t adhere well to glossy surfaces. This means sanding it to take off the gloss and then applying wood undercoat or wood primer/undercoat to give a matt finish ready for the new topcoat.
Top tip
Don’t undermine all the time and effort you’ve put into the prep work by using cheap brushes and paint. With proper cleaning, a quality brush will last for years.
Tools and materials
Have the necessary tools and materials lined up before you start – you’ll save time and frustration:
-
- bucket
-
- caulk gun
-
- paint scraper
-
- paintbrush
-
- rags
-
- sanding paper or sponge
-
- utility knife
-
- acrylic caulk
-
- paint
-
- painter’s tape
-
- primer
-
- spackling compound
-
- two-part wood filler.
Has all this time at home got you thinking about redecorating? What’s the room most in need in your home? Let us know in the comments section below.
Also read: Ten tips to improve your home on a budget
– With PA


two and a half years ago, I painted our kitchen doors, drawers and panels in a simliar blue to that shown above . If you want aperfect finish good preparation is essentila, as mentioned above. But, forget the paint brush. I used White Knight kitchen bench paint, tinted to the colour of choice. I temoved all doors and drawers and the attached furniture. I then applied a primer using a 100 mmwide 4mm. microfibre roller. When that had dried, I then applied two coats of the top coat blue paint, again using a 100 mm microfibre roller. You would never know that it wasn ‘t the original colour (somewhat pinkish colour ). The finish was so smooth, and one of the doors, pantry, sometimes gets a knock from a drawer that was open. There is not a mark to be seen. I had never used a microfibre roller before, but now, I would never use a brush for a job like this. A video instruction of this job is on You tube .
The video is a white Knight video . Follow it carefully, and you won’t go wrong 🙂