
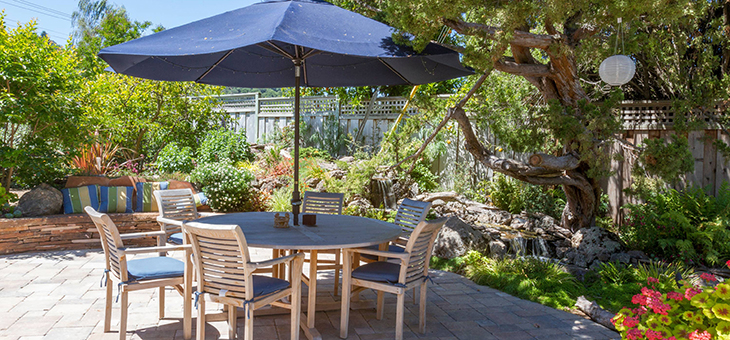
Summer means lots of opportunities for barbecues, dinner under the stars, and chilled-out sunset cocktails outdoors. But nothing will kill a chic garden gathering like balancing your furniture on an unruly, uneven and overgrown patch of grass.
If you’re looking for a fresh DIY challenge, now is the perfect time to focus on the garden. Laying a low-maintenance patio means you can enjoy it without having to pull the lawnmower out every few weeks.
And while patios offer a great outdoor space to relax in, they can also add extra value to your property. Not only do you get a functional space that can double as a dining area or a fireside lounge, but they’re also a great investment if you’re thinking of moving in the future.
We asked experts to share some must-know tips for laying the perfect patio.
Read: How to turn rubble into a garden
1. Lay good foundations
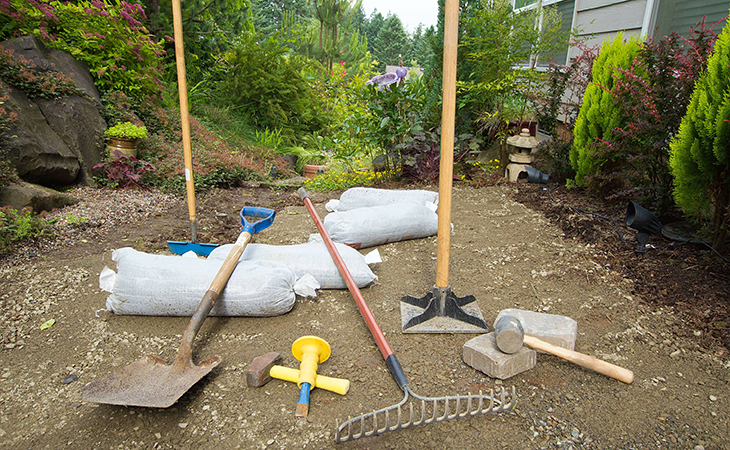
Before you lay down your patio slabs, you’ll need to measure and prepare the area. “Draw a scale plan of the area before starting any work with exact dimensions. If you don’t have tools to cut patio slabs, you may need to work to the size of the patio slabs themselves,” says Sam Norris, design expert at Garden Street.
Once you’ve marked out the patio space, dig a depth of around 150mm in total, making sure the soil is evenly compacted. Add in a layer of sub-base or ‘hardcore’ – you can buy this from most DIY shops – using a rake to achieve a consistent depth of 100mm. Mr Norris also advises making sure the patio foundations are flat, by using a spirit level.
“It’s crucial the area you want to lay the patio in is flat and compact before getting started, otherwise you’ll run into a number of problems,” agrees Ross Goodwin, managing director of MyToolShed. “If you don’t compact the area, the patio won’t look even and it’ll make water drainage extremely difficult, with pooling building up in unwanted areas.”
2. Slope the patio surface
Most patios have the appearance of being flat, but they’re actually sloped slightly. You’ll want to ensure any heavy rainwater can run off the slabs, by directing it towards a drainage channel, or the rest of your garden.
“Creating a very slight slope for the patio is advisable if the patio is directly connected to the home, to allow any surface water to safely run away from your home,” says Mr Goodwin. “If not, the aforementioned drainage issues could arise again, and it could lead to damp in the adjoined room.”
3. Lay your slabs correctly
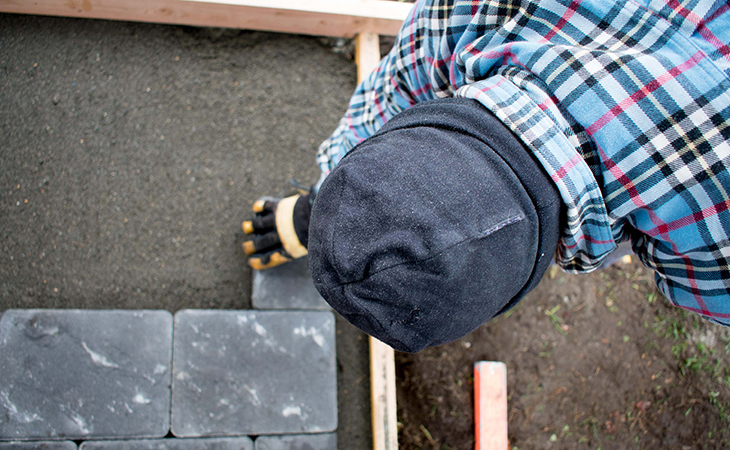
Paving stones can be sourced in a huge range of sizes and finishes. “It seems obvious, but make sure to lay the paving flags the correct way up if they have a smaller and larger face,” says Mr Goodwin. “The larger side facing up is always the way to go. It’s a simple mistake, but one that can be easily avoided.”
Before laying your patio though, you’ll need to add a second layer to the ‘hardcore’. As Mr Norris explains: “Lay down bedding mortar (five parts of sand, to one part cement) onto the hardcore, keeping the base completely flat and level, before adding in your slabs.”
4. Treat slabs with care
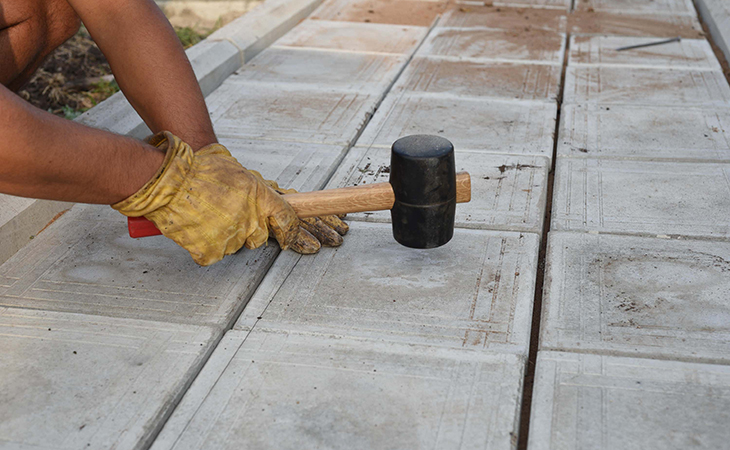
There’s nothing more devastating than damaging your paving slabs, before you’ve even had the chance to enjoy them. “When putting your slabs in place, I’d advise using a soft mallet, such as one made of rubber, rather than a traditional hammer” says Mr Goodwin. “This is to prevent any damage or cracks to the slabs if you hit them too hard by accident.”
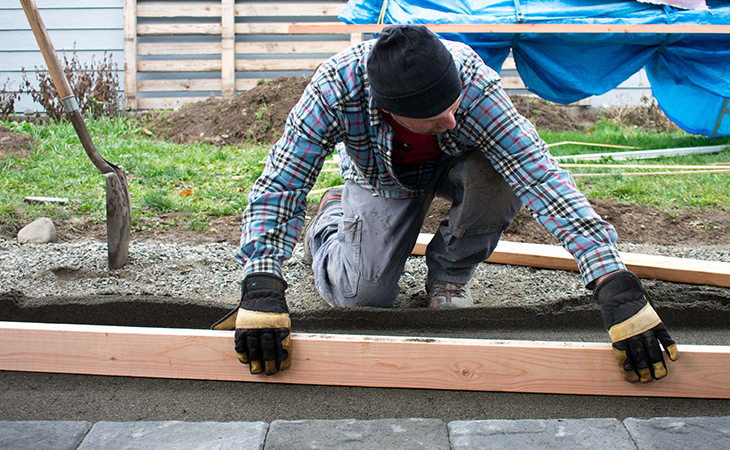
5. Utilise string
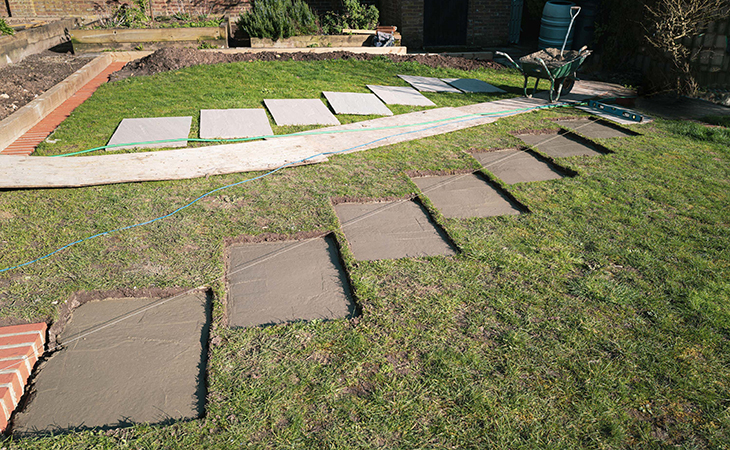
If you’re laying paving in straight lines, rather than in a random pattern, Mr Norris says a string line can provide accurate and inexpensive guidelines.
To make use of this tip, simply stake a tight line of string across your patio area, making sure it is level and in a straight line. Then you can begin laying your bricks or paving slabs snugly together in parallel with your line.
Read: Australian natives for your garden or balcony
6. Always leave a gap between slabs

Once laid, the patio should be left for around 24 hours to allow the bedding mortar to harden. Patio grout can then be applied; it can be bought from most DIY stores and prevents the patio tiles from shifting around.
“I’d advise leaving a 1cm gap between the slabs,” says Mr Norris. “A common mistake is putting the slabs next to each other, but you’ll need to leave space for patio grout.”
Trowel the grout into the joints, pressing it down and smoothing over, but avoid getting mortar onto the surface of the paving slab.
Read: How garden trends are changing post-pandemic
7. If you do make a mistake, wait before fixing it

“If you’ve accidentally spilled some unwanted mortar onto any patio slabs, the best way to remove is to wait a couple of hours, until it has hardened slightly,” advises Mr Goodwin. “Then it’s simply a case of just scraping it off. Trying to remove while it’s still wet could actually make the problem much worse.”
The final tip? Grab a garden chair, pour yourself a G&T, and enjoy your new garden space.
Have you made any changes to your garden during the pandemic? Do you have a lawn or a patio? Share your thoughts in the comments section below.
– With PA
If you enjoy our content, don’t keep it to yourself. Share our free eNews with your friends and encourage them to sign up.