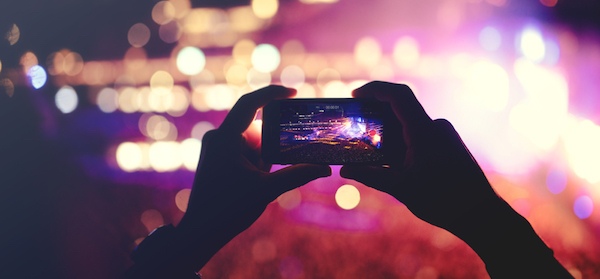
Do the photos you take on your smartphone always seem to look blurry, too dark or overexposed? If you struggle to take good photos in lowlight, these simple photography tricks can help you take that perfect shot.
Steady as she goes
The best defence a photographer has against low-light situations is to slow down their camera’s shutter speed. A slower shutter speed allows more time for light to hit the camera’s sensor, creating a lighter photo. However, the slower the shutter speed, the higher the chance of a blurry photo.
Shutter-speed adjustment isn’t a readily available function on smartphones, so in low-light conditions the camera has to be held very steady to create a well-exposed shot and to avoid blur. Consider investing in a camera stand or propping the camera up on a table or against a book.
Natural light is best
When shooting inside, take advantage of the natural light from windows. The light doesn’t have to be shining directly on the subject (in fact, it’s better if it doesn’t) but it should be lighting the space in which you are taking the photo.
If you’ve ever taken a photo where the background was lit up but your subjects were just silhouettes, you’ll know that working with light can be awkward. The trick is to position yourself with your back to the window and the camera lens facing away from it, pointing at your subject. This guarantees a great shot every time.
Stunning silhouettes
When you can’t beat them, join them. Silhouette shots are a creative way of making the most of the light you have, especially when taking photos at sunset. To create a stunning silhouette photo, ensure that the strong light source is behind your subject.
Sunset photography is probably the only time when shooting directly into a light source is a good idea.
The HDR effect
While smartphone camera technology is advancing, it doesn’t have all the high-tech functions of an SLR or DSLR camera. Most smartphones do, however, have High Dynamic Range (HDR) imaging. This function aims to add more detail to photographs that would have lost quality due to lack of light.
Sometimes HDR can make images look worse because it increases the chance of a blurry photo, so it’s important to know when to use it. If any of your subjects are moving or might move, you’re better off avoiding HDR.
Make your own adjustments
When all else fails, tweaking your photos by using your phone’s photo-editing options can help you create the image you want. Smartphones make it simple to add filters, adjust light, and add colours and contrast.
PhotoToaster (for iPhone users) is a versatile app that you can download to your phone to do an even better photo-editing job. One of its features includes a lighting brush, which allows you to lighten or darken areas of a photo. Another great photo-editing app is Snapseed for iPhone, iPad and Android.

