When was the last time you worked with wood? For many of us, it was back at school, but don’t let that put you off.
Working on a relatively simple and crafty home project can be very rewarding. Not only will you learn new skills, enjoy being hands-on and busy creating something brand new, but you’ll also have an amazing new piece of homeware to showcase – and it’s guaranteed to earn you compliments.
Andrea Brugi and Samina Langholz, authors of the book Woodworking, have been restoring a 17th century home and were asked to design a built-in wardrobe in the bedroom. But after working so hard on this home, they couldn’t bear to hide the ancient and beautiful walls.
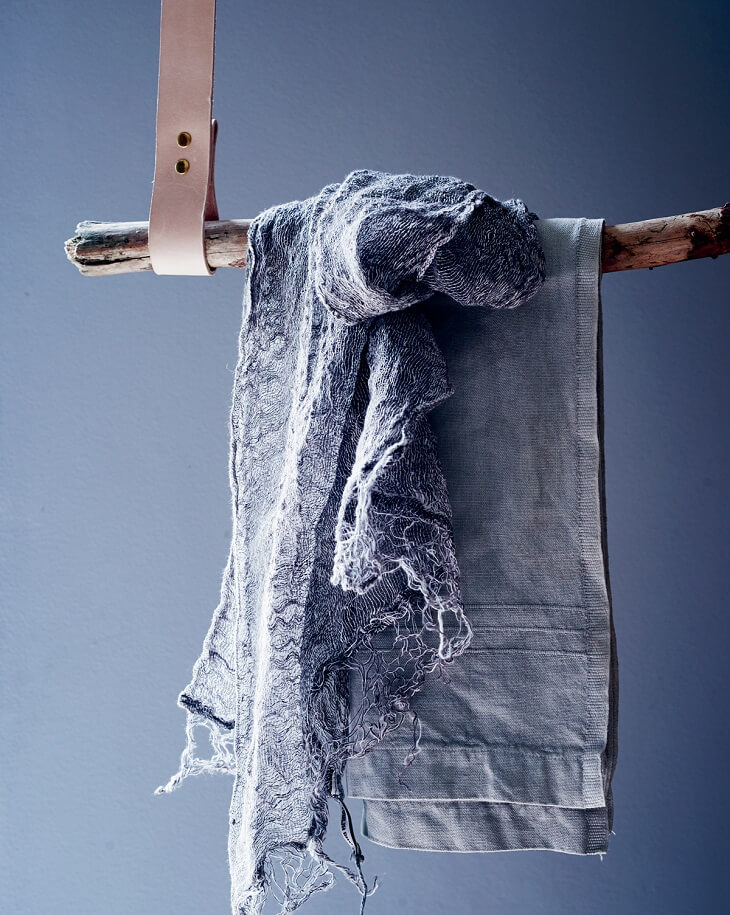
So, what they came up with instead is this stylish, alternative clothing rail.

Tools and materials you will need:
- two pieces of leather, approximately 3cm wide and 5m long (the length will depend on the height of your ceiling). Natural leather is hard to cut, but you can ask a local leather merchant to cut it for you
- one piece of driftwood, give or take 140cm in length. Consider the thickness of the stick, as it must be suitable for your chosen hangers
- hammer
- sandpaper (150 grit)
- leather hole punch
- 2 x 1cm copper or brass nails/studs for each strap
- hand saw
- 2 strong screws (for attaching to the ceiling)
- ruler
- drill
Method
Comb your nearest beach for a suitable piece of driftwood, then leave your chosen wood to dry out in the sun.
Use the sandpaper to clean and polish the rough edges. Run the sandpaper along the stick to make sure there are no splinters or small, rough knots.
Read: Ten essential tools every householder should own
Using the saw, cut the stick to your desired length. The maximum length should be 150cm, to ensure the stick is strong enough.

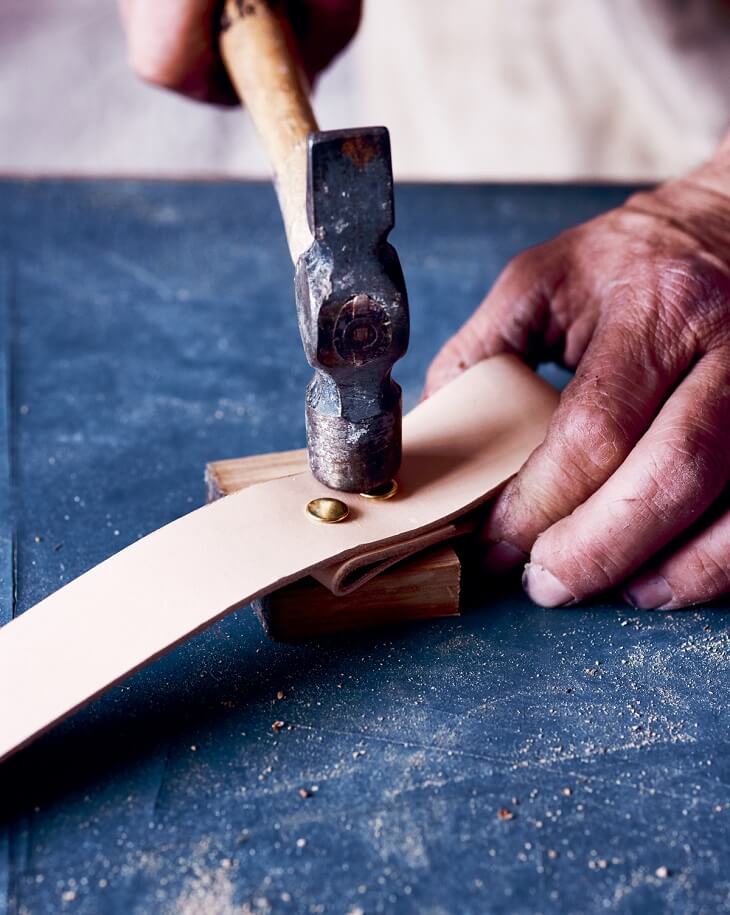
Using the leather hole punch, prepare two holes in the leather, around 1cm inside the edge of the strap and 25cm from the end. You could even ask your leather merchant to cut the holes. Hammer the copper or brass nails (or studs) into place.
Loop the leather straps around each end of your chosen branch.
Check the exact measurement between the two leather straps and mark the two spots on the ceiling where the straps will be attached. Drill holes in the ceiling for the screws and attach the straps to the ceiling.
Read: Cheap and easy DIY projects
The branch could literally be hung using any material; rope, rough twine, coarse fabric, even an old, fine, silk scarf. You can hang it next to a wall, but it also works beautifully as a room divider. And while it’s perfect for holding your clothes in the bedroom, you could also use it as an installation for pots and pans over your kitchen sink, swapping the clothes hangers with some beautiful, vintage meat hooks from a butcher.
Woodworking by Andrea Brugi and Samina Langholz is published by Jacqui Small.
When was the last time you worked with wood? Do you like the look of this rustic hanging rail? Let us know in the comments section below.
– With PA
If you enjoy our content, don’t keep it to yourself. Share our free eNews with your friends and encourage them to sign up.

